Professional Security Doors Installation
Install Security doors
It is a very worthwhile idea to install security doors in residential or commercial spaces. Since they provide you the ultimate security to your space. More than giving security they also add value to the home. The ultimate aim is to provide greater security to the house, so choosing the right security doors installers becomes more necessary. Worry not! Ultimate Home Decors has 10+ years of experience in installing multiple home decorations such as blinds, curtains, shutters and outdoor blinds which also includes security doors. If you want a trusted and affordable service you can visit our showroom and get your free measure and quote. If you are not looking to know more about security door installation, let's get deep into it.
Benefits of security doors:
You must know what is security door, so instead of giving a definition let me discuss the benefits of installing the security doors as below:
Enhanced Security: They act as a great barrier against intruders. This makes the intruders to break into the house.
Safety: More than normal security these security doors come with advanced locking systems to provide greater safety.
Peace of Mind: By installing security doors in your home or business place, you have peace of mind.
Aesthetic Value: By installing them it can add great value to the exterior look and increase the property value of your home.
Types of security doors
Hope you are clarified that security doors can protect your home more than you think. But are you sure which one to choose? Again worry not! We suggest you the right one. Anyway, let's also discuss the various types in detail. Take a look at the security doors classification based on their appeal, material and features as below:
1 - Aesthetic and Traditional Appeal:
- Decorative Security Doors
- Heritage Security Doors
2 - Material-Based
- Stainless Steel Security Doors
- Aluminium Security Doors
3 - Functional Features
- Privacy Mesh Security Doors
- Diamond Grille Security Doors
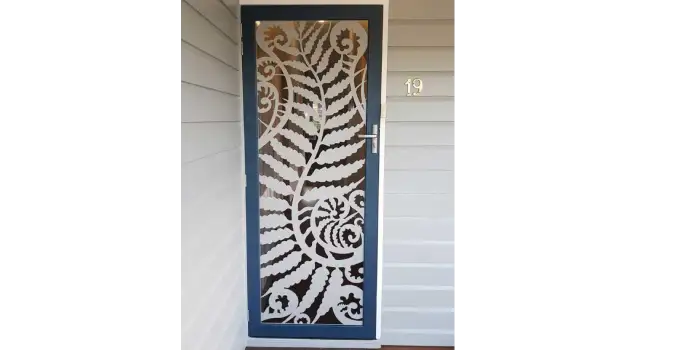
Decorative security doors:
Install Decorative security doors that offer different styles and different patterns to give a decorative look to your home. They are also durable and weather-resistant. To provide a neat and decorative look, they use laser cutting for fine finishes. They come with features such as high-quality locks and hinges. They are made of durable aluminium material with powder coated to resist against corrosion.
Heritage security doors:
If you install heritage security doors, they offer a mix of traditional aesthetics and modern security features. These doors are perfect to give a classic look to older homes. Their traditional designs match the architectural style of period homes. They often feature intricate details, ornate patterns, and classic motifs that reflect historical designs.
With the classic appearance, they do have advanced security features such as high-quality locks, reinforcement frames and tamper-resistant hinges. Generally, they are made of materials like wrought iron, steel, or heavy-duty aluminium. They are also added with a protective coating to resist corrosion.

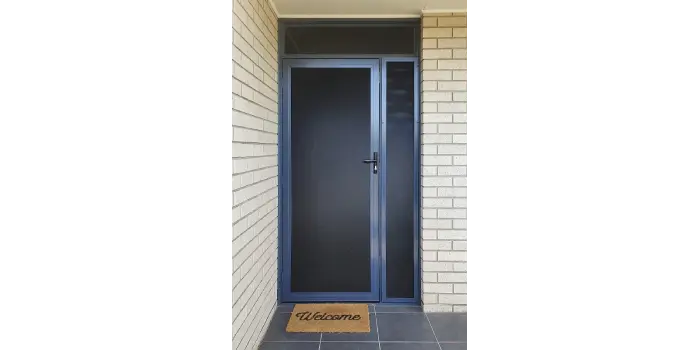
Stainless Steel Security Doors
If you do not want to compromise on appearance and quality then install stainless steel security doors for the best choice. It is one of the best options available in the Australian market today. They can be customised with various functions such as hinged doors, sliding doors, French doors, and bi-fold doors.
The average grade used to manufacture is Marine Grade 316 Stainless Steel combined with the flexibility of aluminium. This makes the stainless steel security door protect your home and business space with its maximum capability. Marine grade 316 stainless steel mesh is coated with a high-quality powder coating to enhance the durability of the security screen by providing extra protection against corrosion and scratches.
Aluminium Security Doors:
Install aluminium security doors to ensure security and a decorative look. They are made from high-quality aluminium material. They are available in various design styles that can be added with the external interior. The standard feature for this security door includes double-cylinder security locks with 2 keys and an inside snib for quick locking/unlocking without a key.

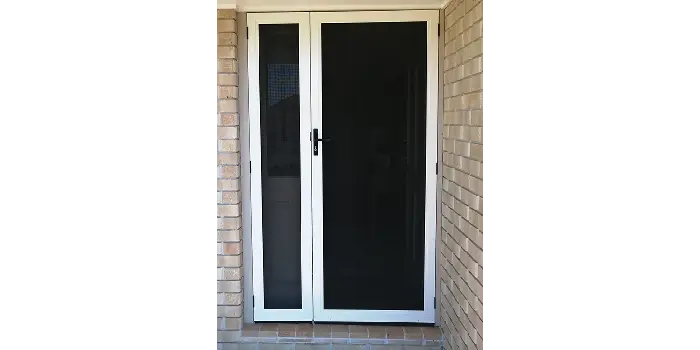
Privacy Mesh Security Doors:
Install Privacy mesh security doors for enhanced privacy with added security. This security door is also called a one-way mesh or Diminished Vision Aluminum (HDVA). The structure of this door acts like a peephole, where you can see outside from your living space. They offer a sleek and modern look when installed and can improve the look of your exterior view.
The security doors come with a triple lock system for maximum security. It is also easy to customise the door option as per the style. If you are looking to upgrade new security doors for privacy then choosing this will be a wise option.
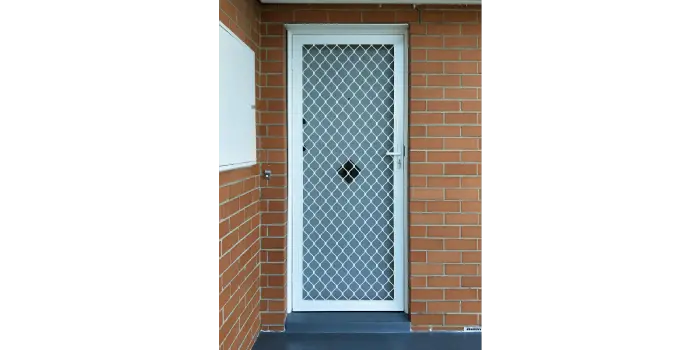
Diamond Grille Security Doors:
Install diamond grille security doors to safeguard your home. It is one of the popular and cost-effective security door options. The diamond shape acts as a strong barrier and also provides a classic look for a wide range of home styles.
It’s a time-tested security feature that provides a sturdy barrier between your home and potential intruders. This design has been trusted for decades to enhance home security. The security doors are greatly resistant to corrosion and can be maintained easily.
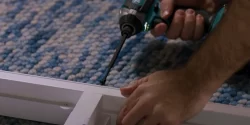
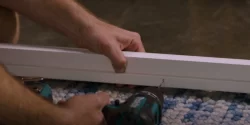
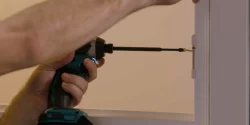
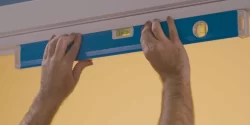
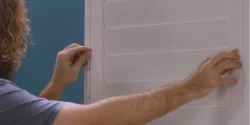
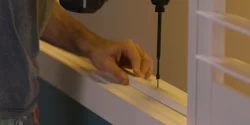
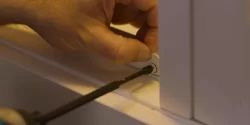
Security doors installation process:
We provide you with the customised option to install security doors. First, we will try to understand the exact needs of your home decoration. So we visit your home and measure the window or door size. During this time we also suggest you the style and get your feedback to understand better about the window coverings options. By doing this we could deliver a satisfactory service to our customers. Then we will provide you the quote for the complete installation process. Our installation process is competitive in the city. Once the quote is approved we will start manufacturing for the custom size and design. After this, we schedule a time to install the security door.
Security doors installers:
We Ultimate Home Decors, are one of the reputed home decorators operating in clyde and its surrounding region. We install all types of window coverings, like blinds, curtains, shutters and outdoor blinds. Our professional team has 10+ years of experience in installing window coverings by understanding the customer needs. Contact us and get your free measure and quote.